
Guide 2 of 5
Book a job and mark it done
Create a job, schedule it, and close it from your phone in under thirty seconds. The north-star workflow, step by step.
A job in Pinion is the unit of work: who it’s for, where, when, and what state it’s in. Here’s the whole life of one.
1. Open Jobs
Tap Jobs in the bottom bar (it is called Jobs & Tasks in the desktop sidebar). The list shows every open job, newest first, with a status badge on each.
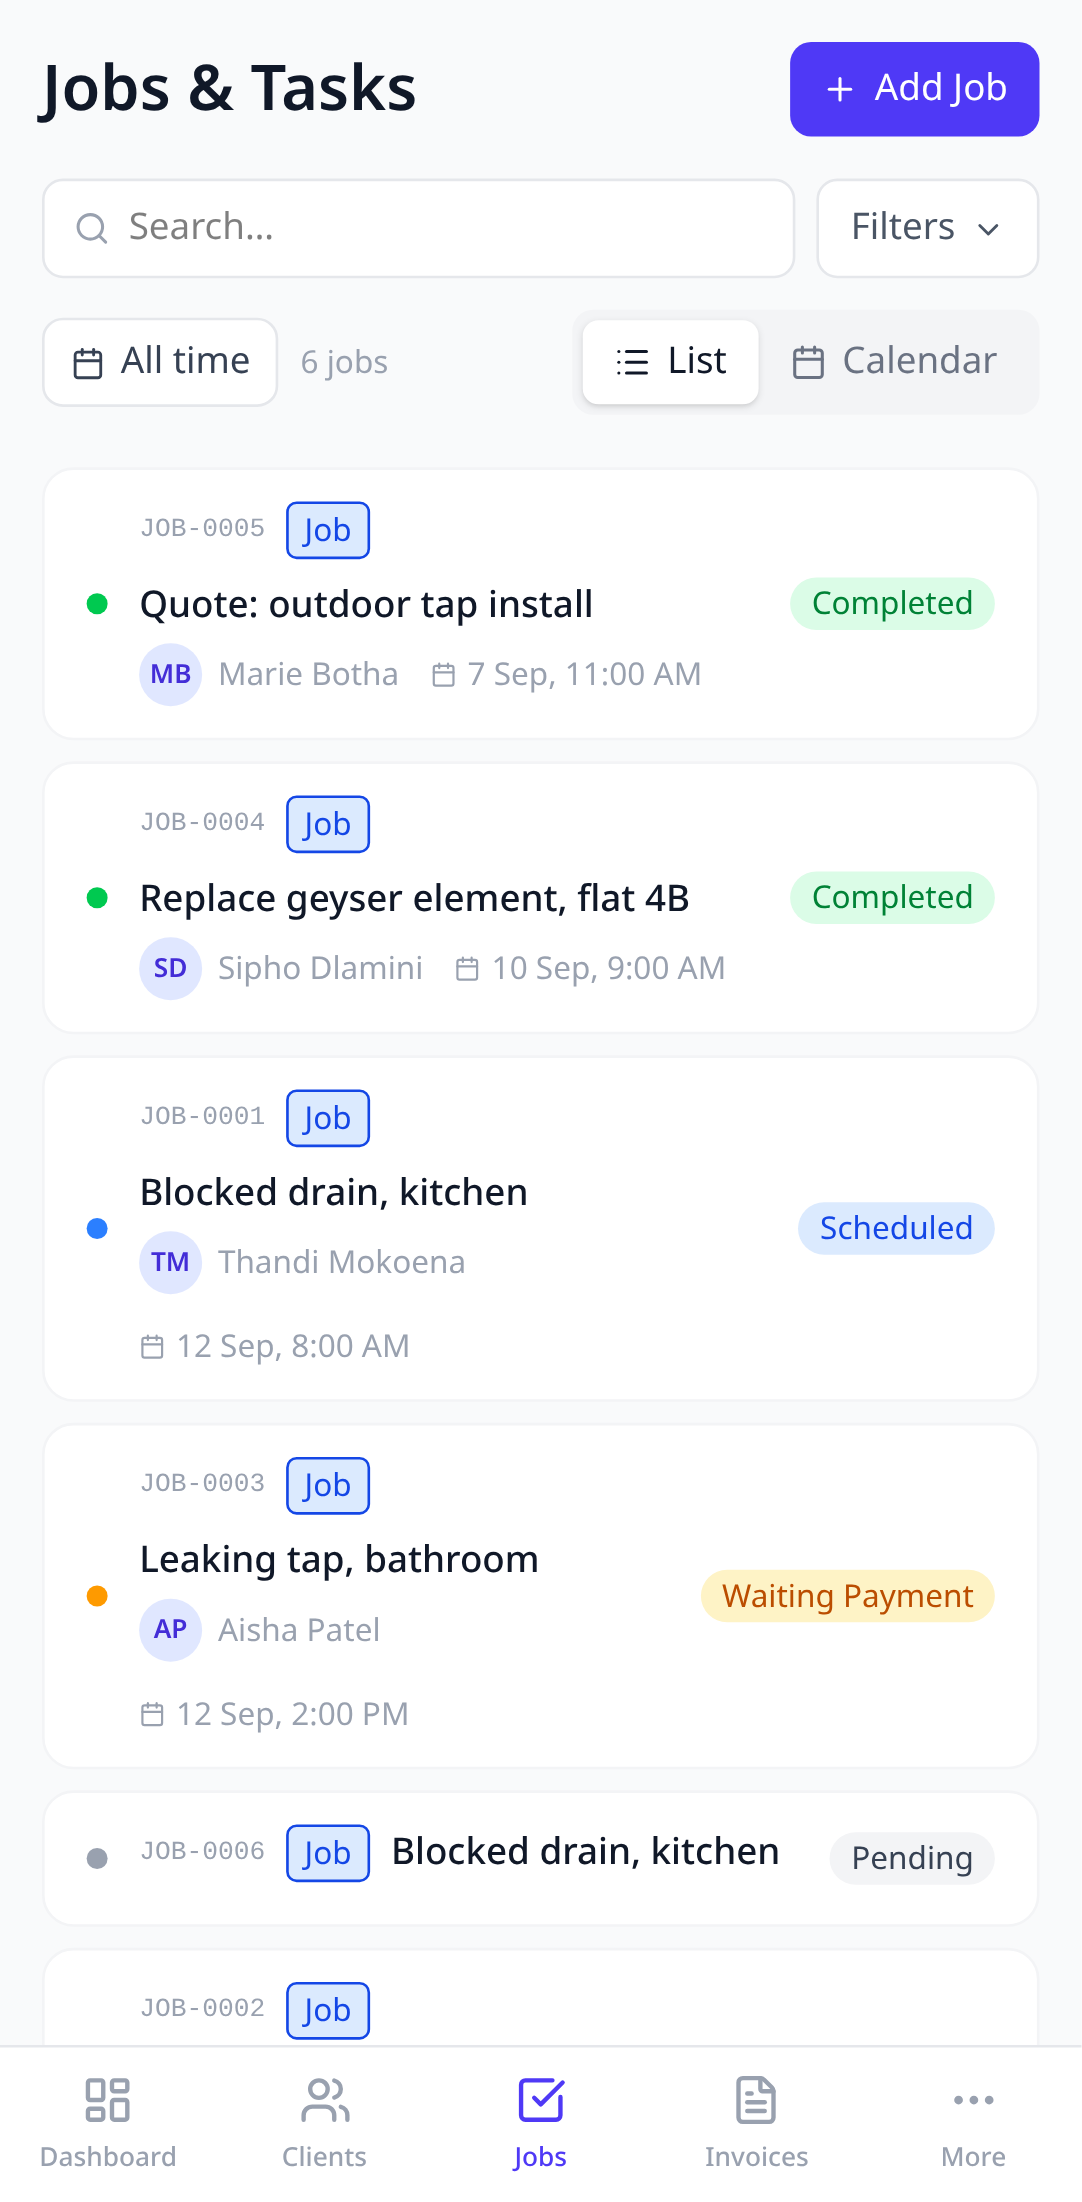
2. Tap Add job
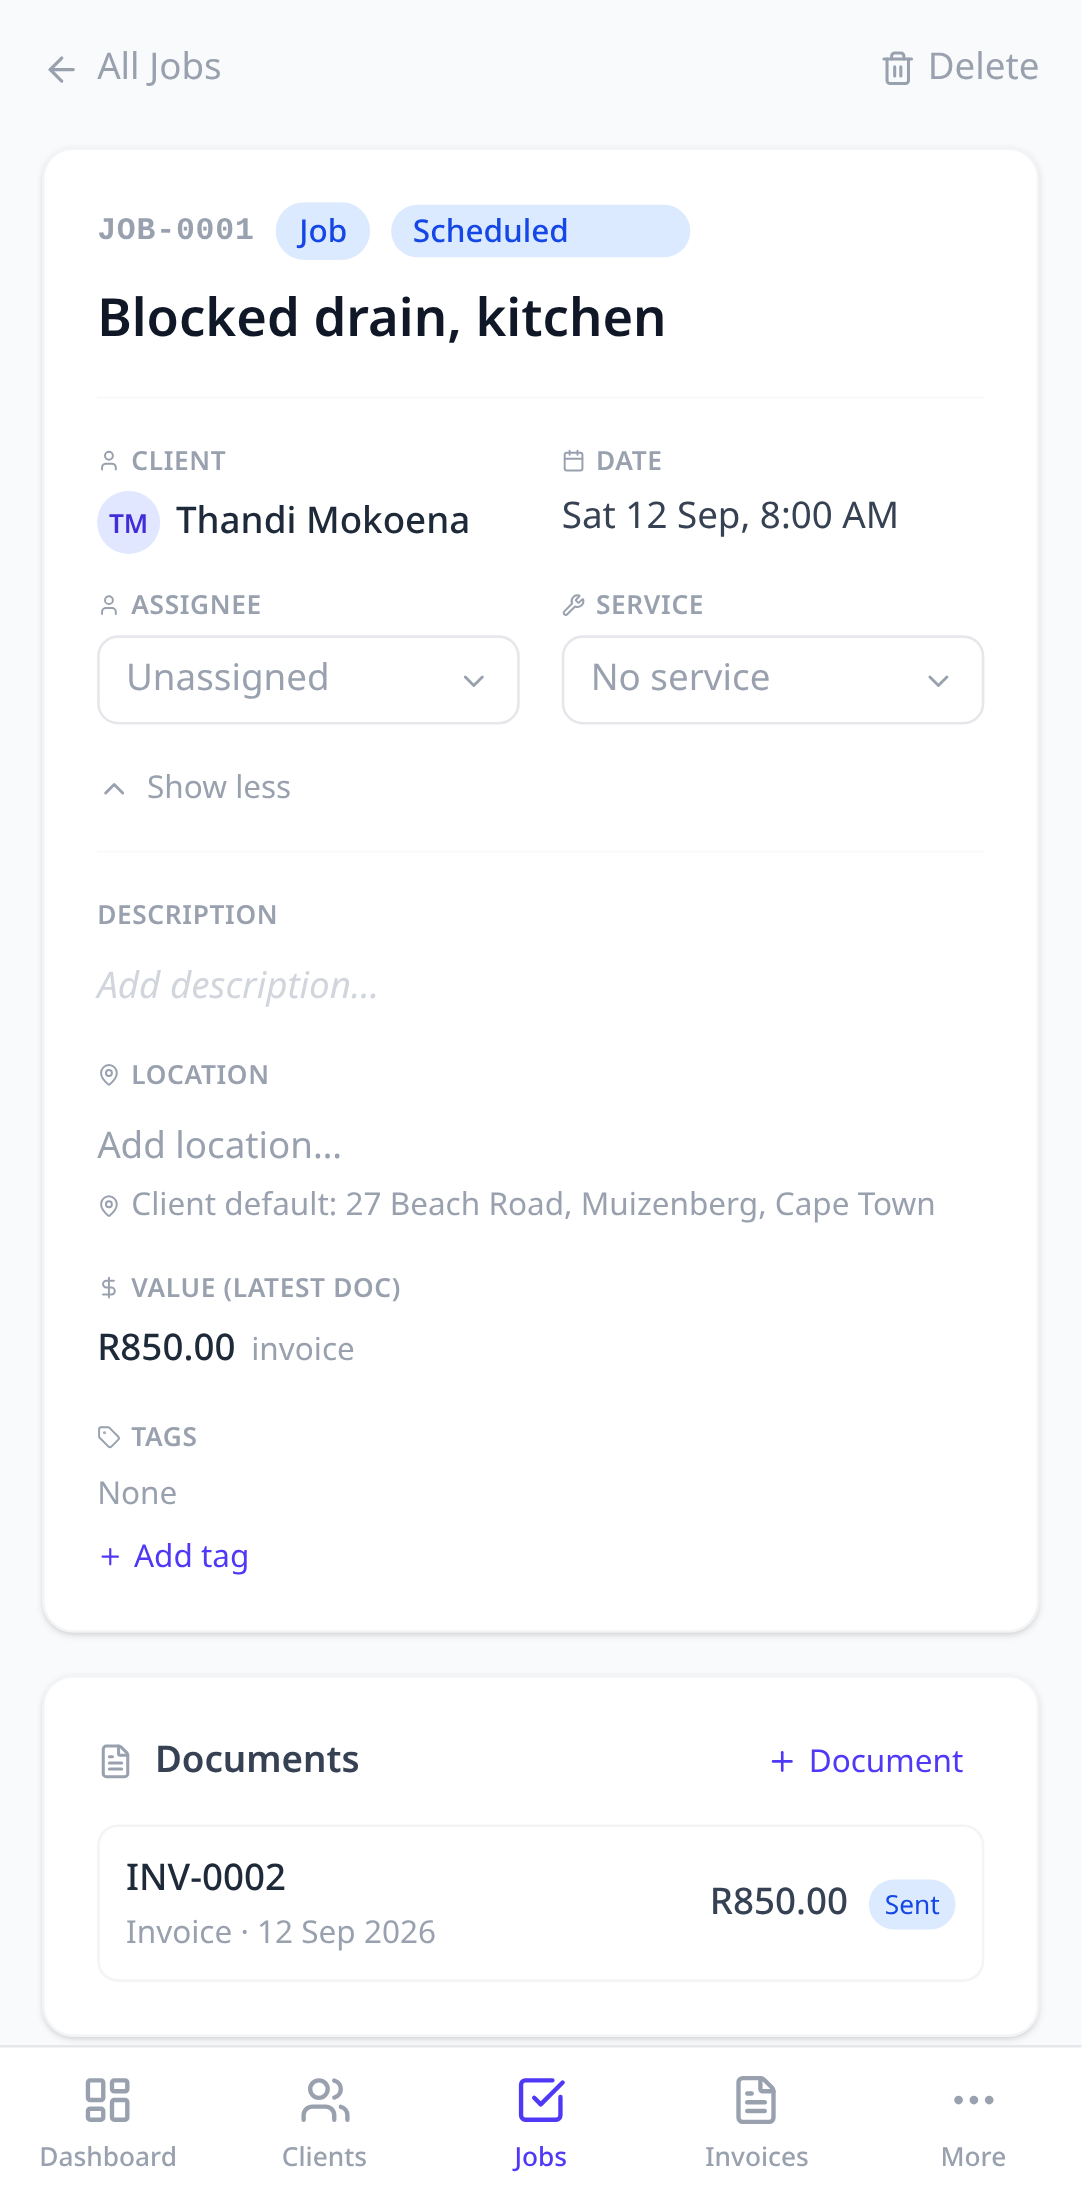
Give it a title that you’d recognise in a list, like “Blocked drain, kitchen”. Pick the client, and the address fills in from their default location.
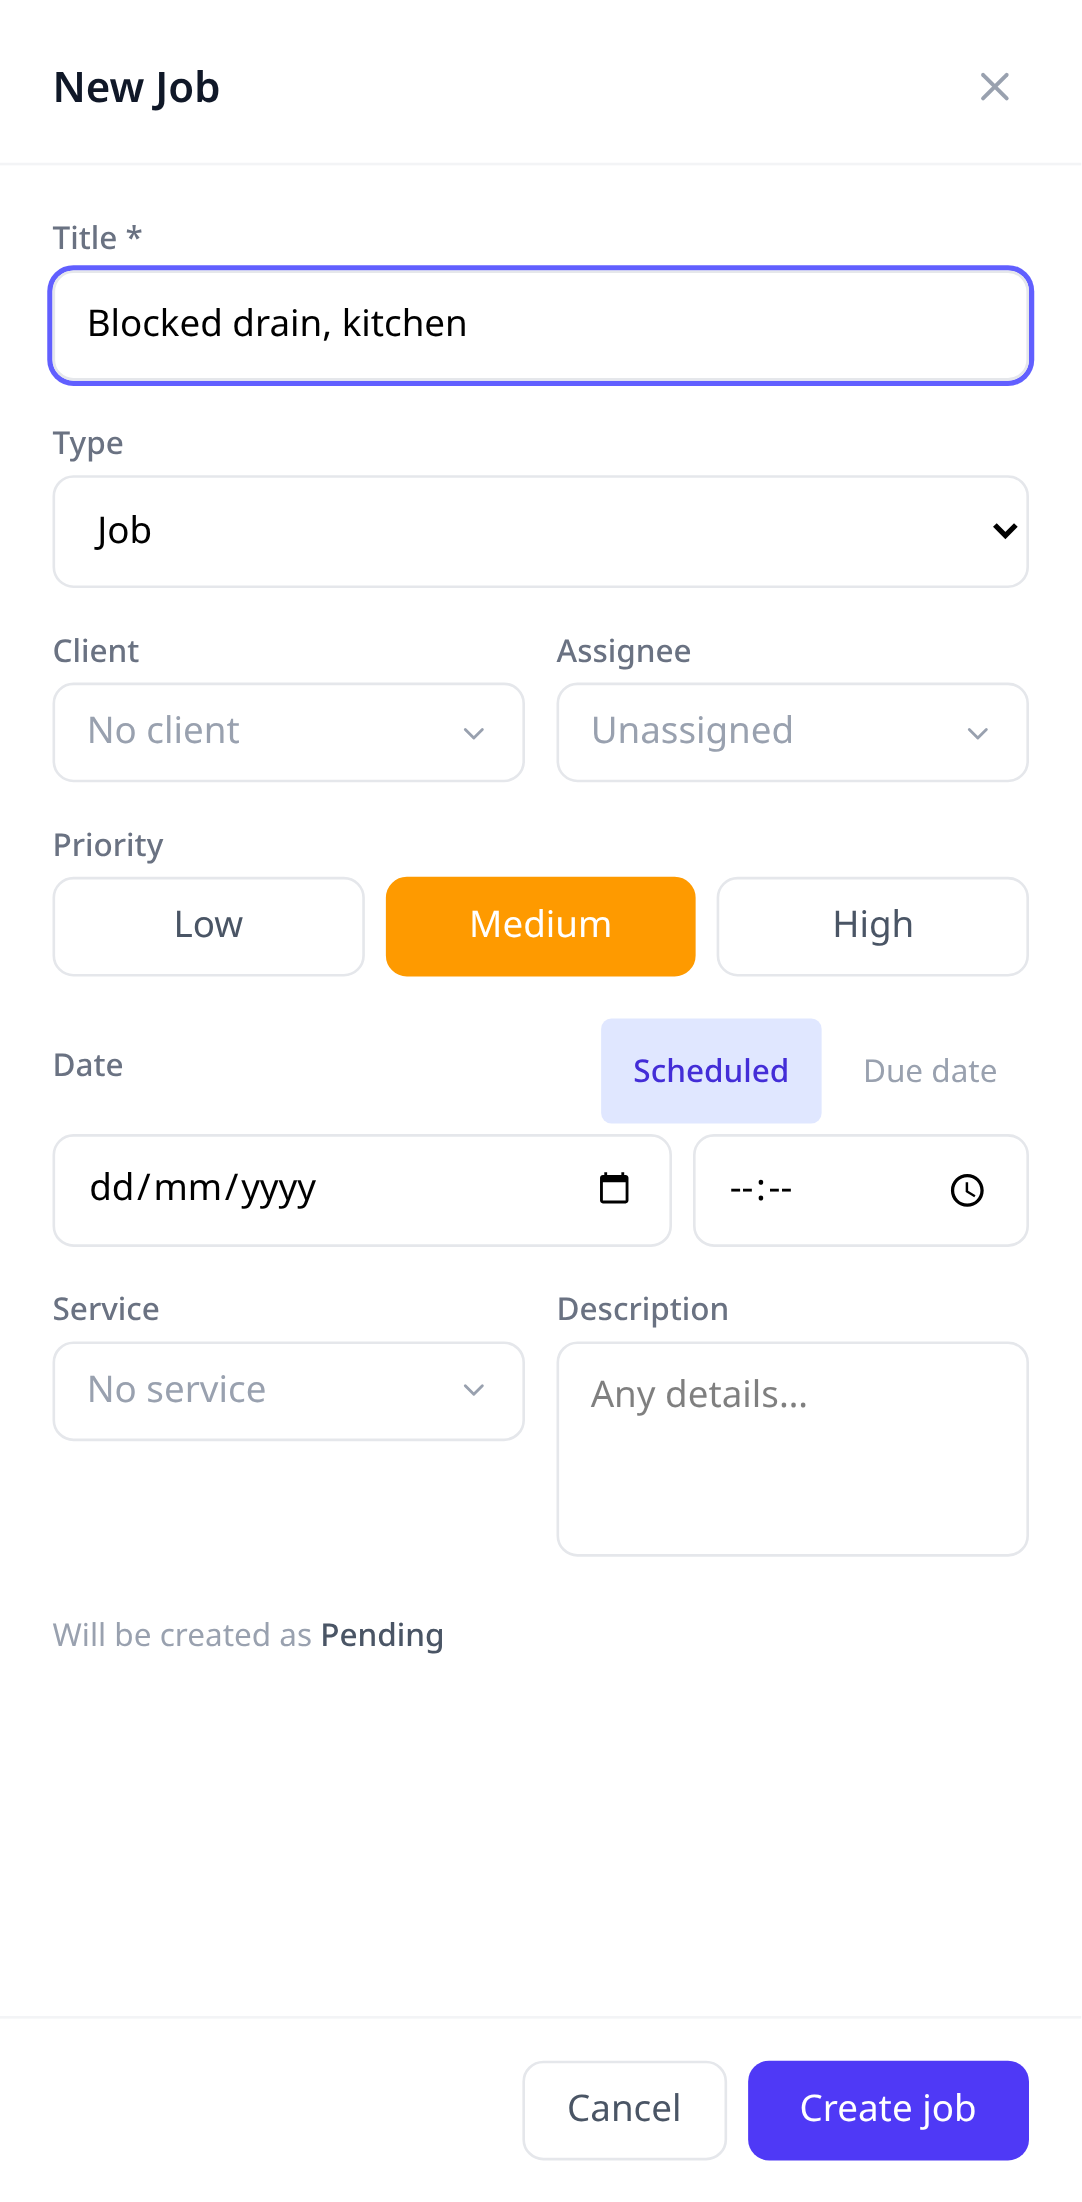
3. Schedule it
Set a date and time. Jobs with a time show up in the Upcoming widget on your dashboard, so you don’t have to go looking.
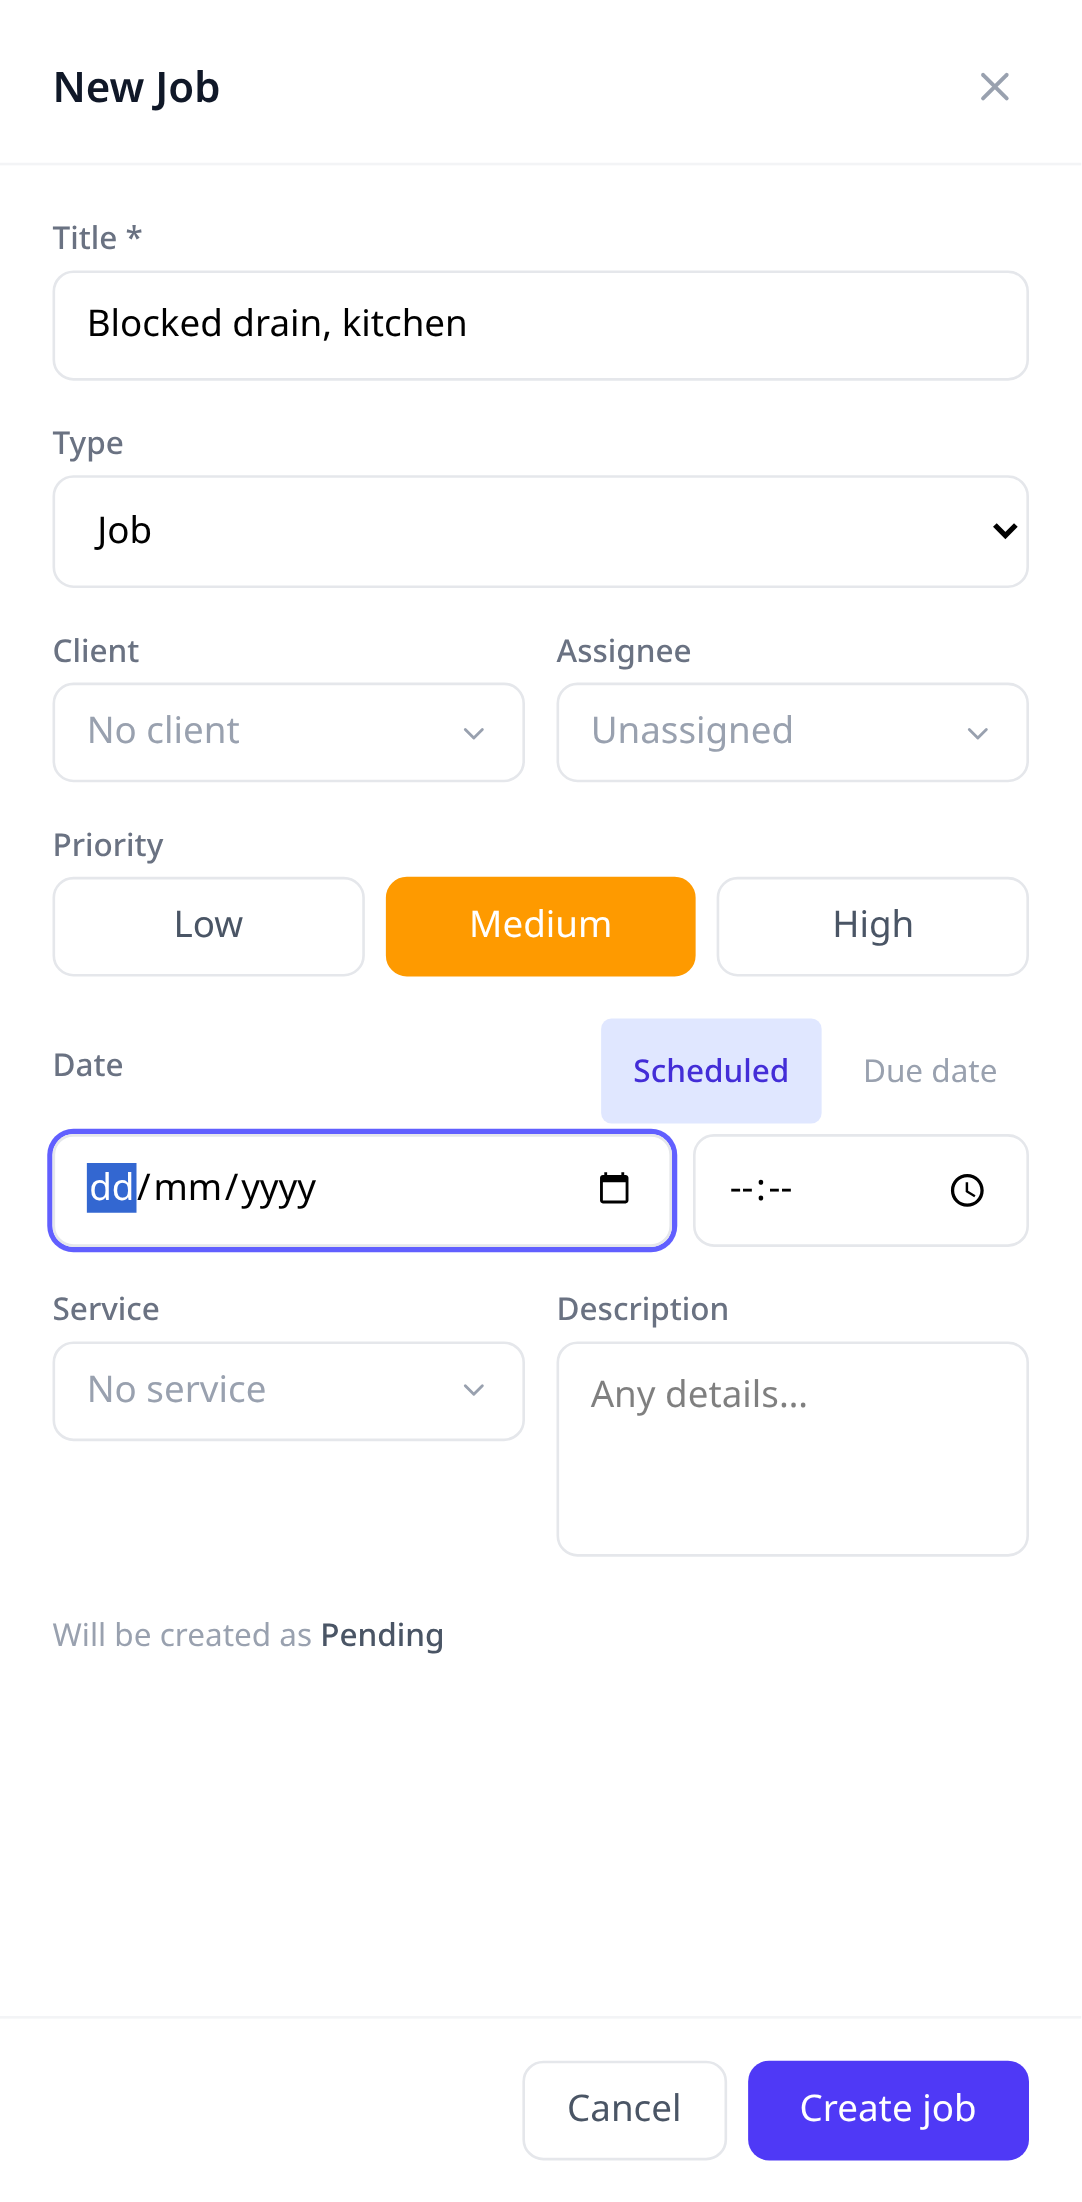
4. Open the job
Tap Create job. The job page is where everything about it lives: the client’s contact buttons, the address, notes, photos, and the status.
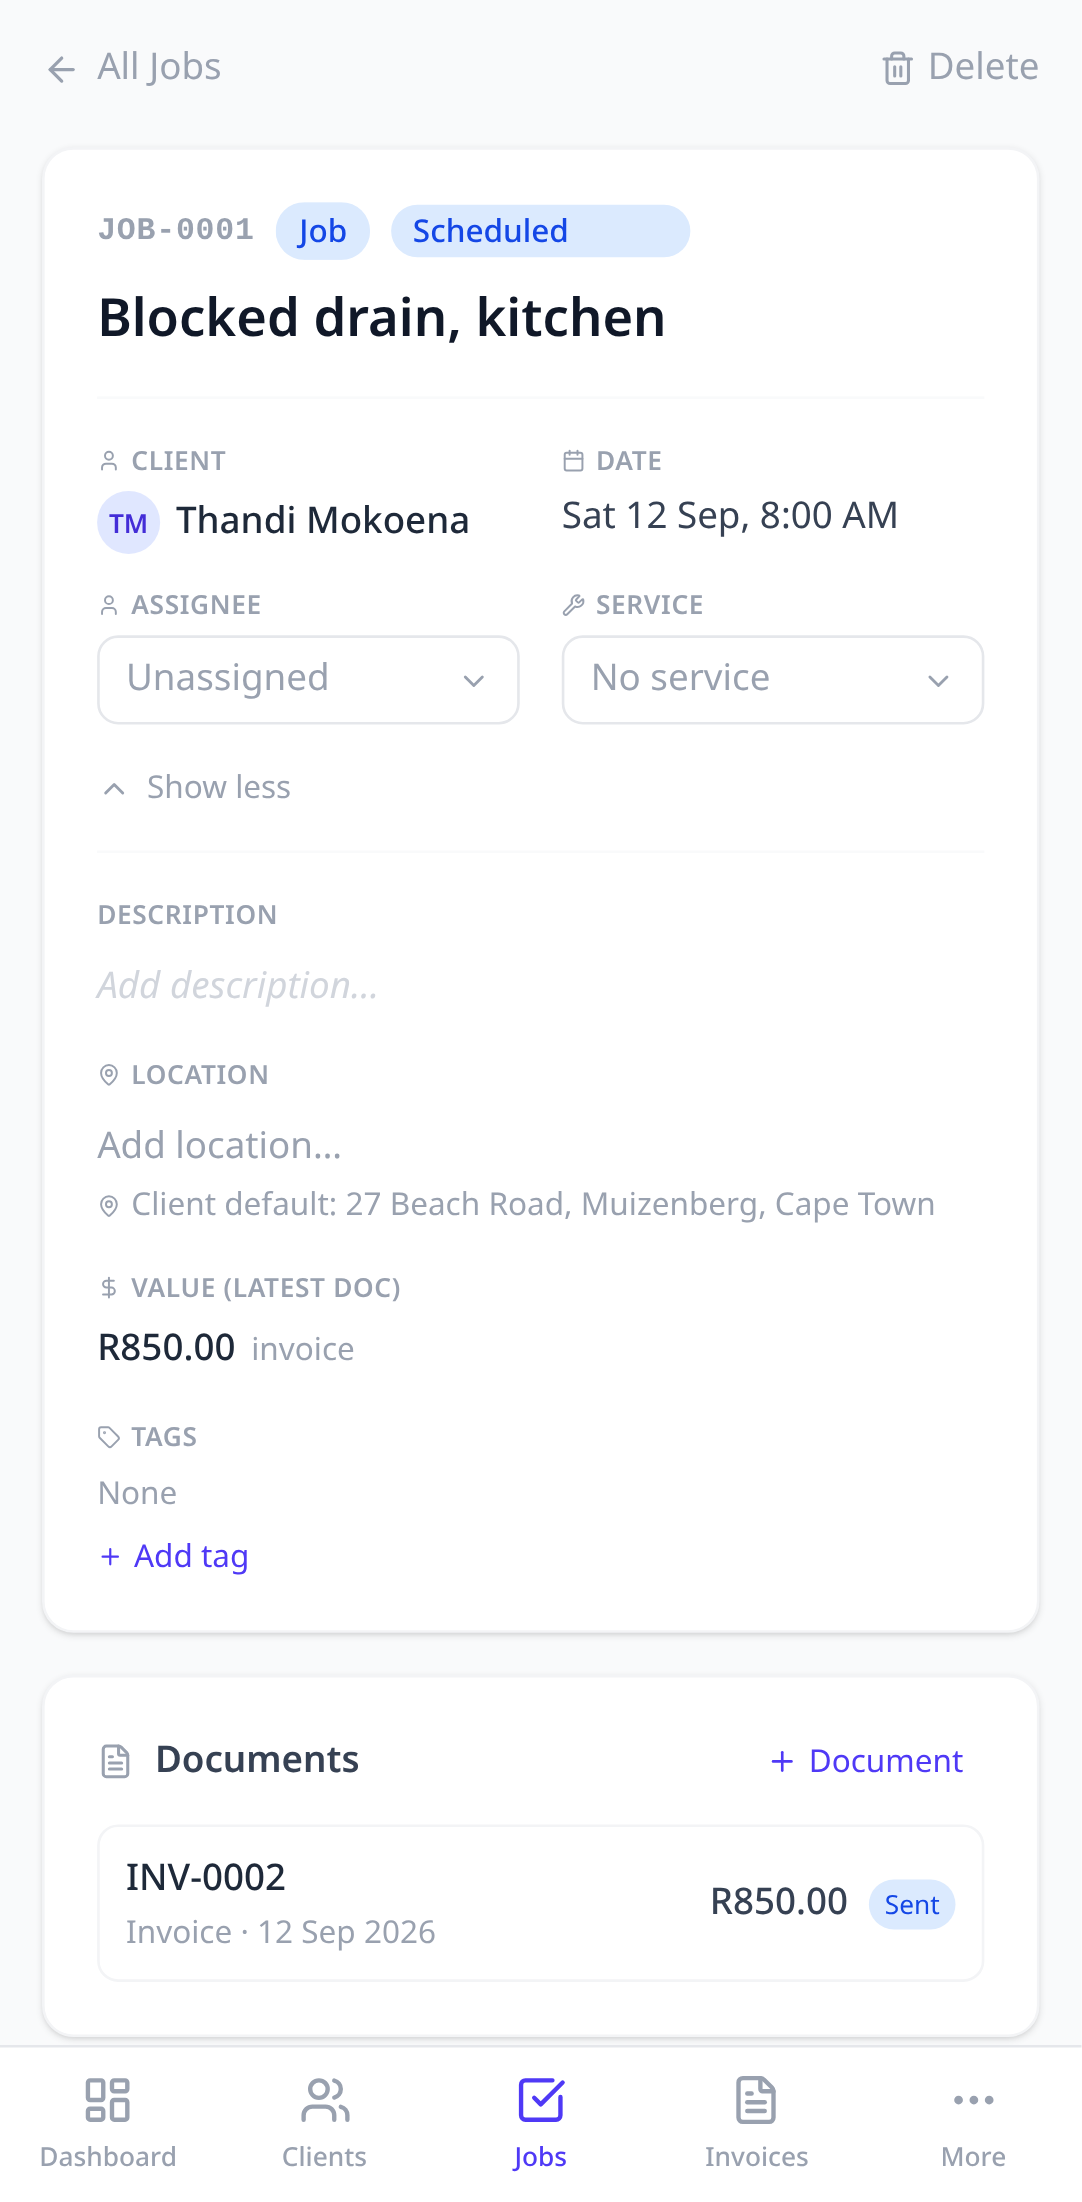
5. Mark it done
The status badge is a dropdown. Tap it and choose Done. That’s the thirty-second moment we built Pinion around: finished the work, changed the status, back in the van.
What happens when a job is done
- If the job used stock from your inventory, the quantities are deducted automatically.
- The job moves out of the open list and into the client’s history.
- You can raise an invoice from it in one tap. See from quote to invoice.
Filters
The Filters button at the top of the list narrows by status, type, or client. Filters stick until you clear them, so you can keep a “Today” view open all day.
Try it in your own account.
Free to start, no card. Set-up takes minutes, not weeks.