
Guide 1 of 5
Add your first client
Two minutes from signing up to a client record with a phone number, an address, and a place to keep notes.
Everything in Pinion hangs off a client: jobs, quotes, invoices, and the history of what you did for them. So this is the first thing to set up, and it takes about two minutes.
1. Open Clients
Tap Clients in the bar at the bottom of the screen. On a desktop it’s in the sidebar on the left.
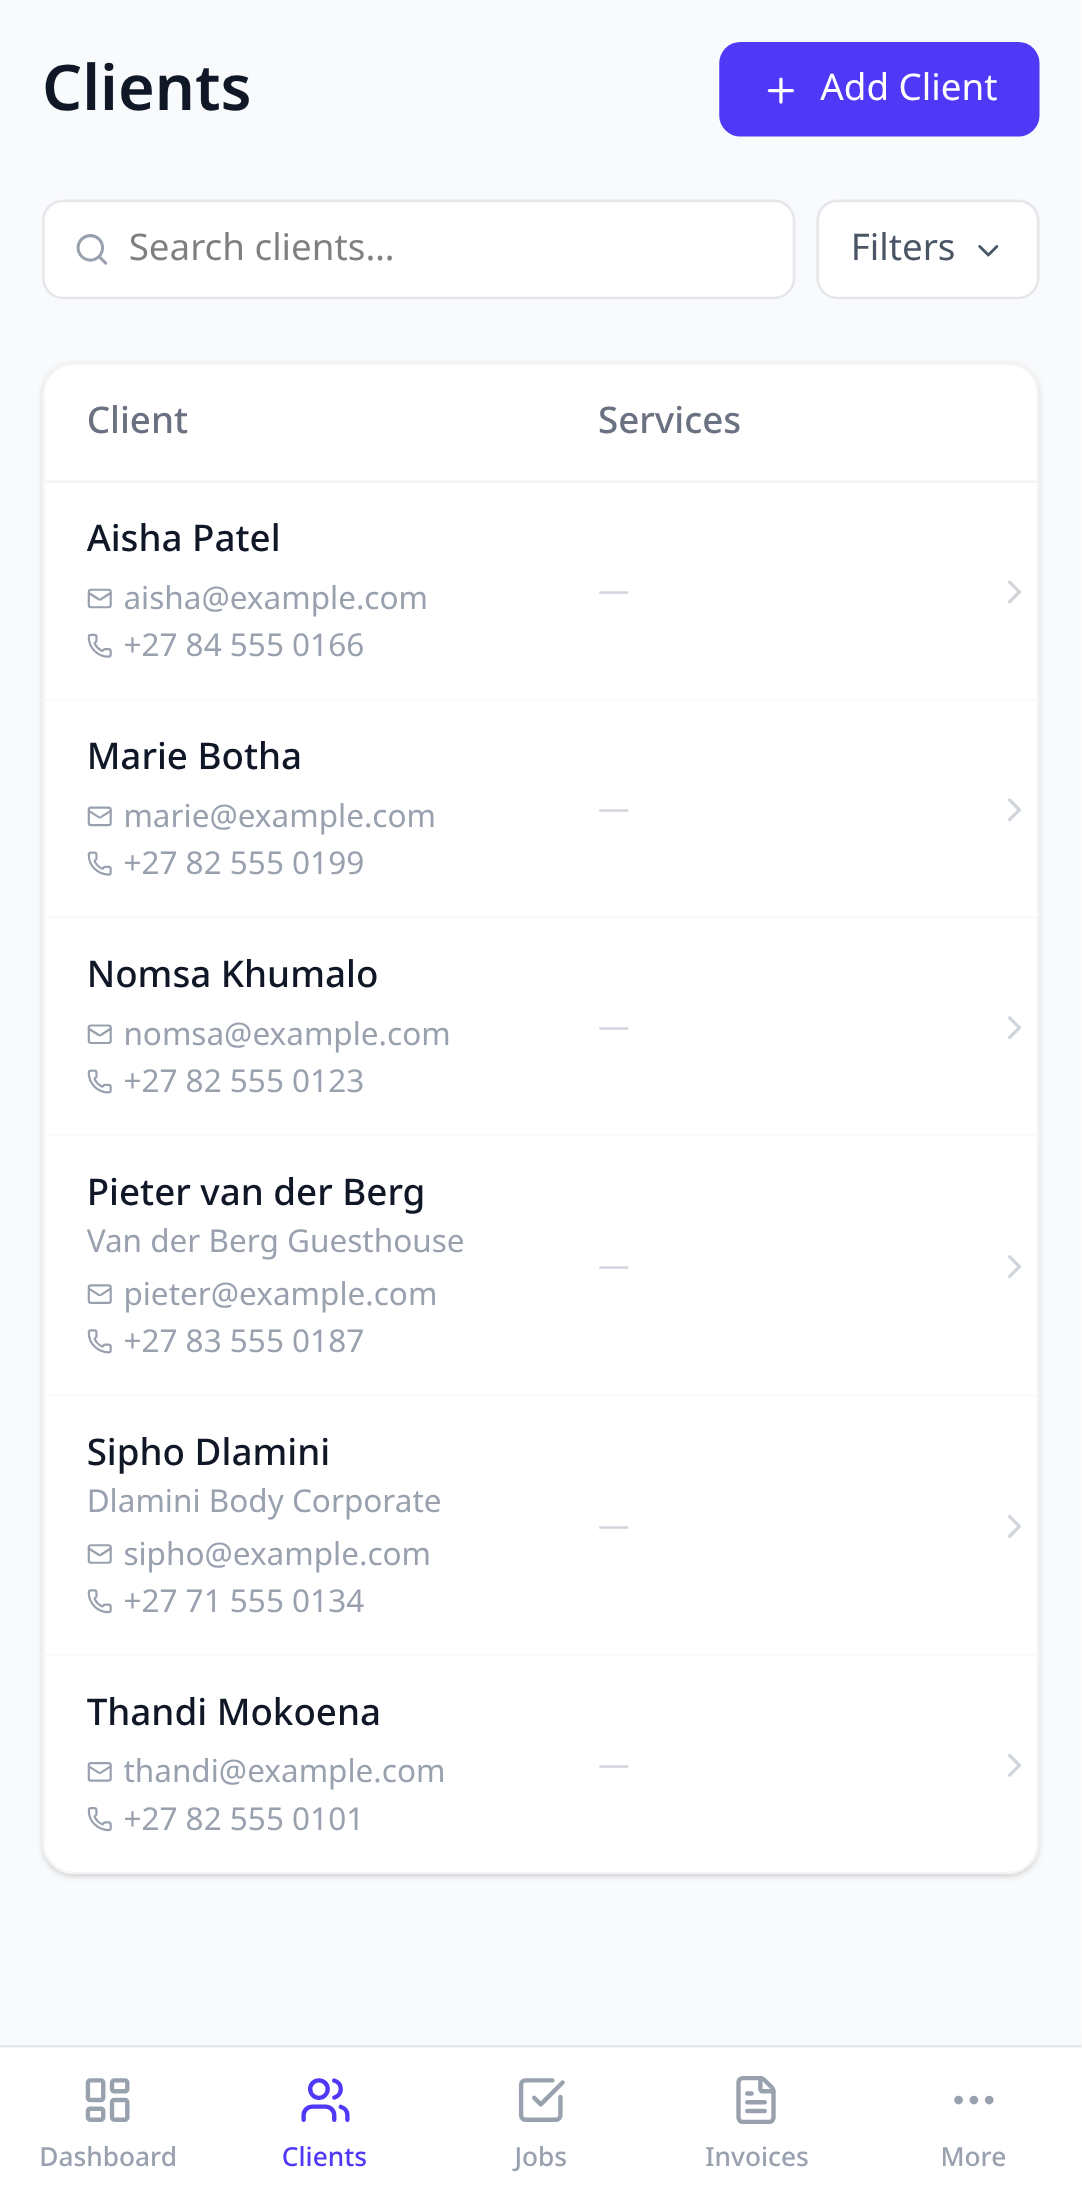
2. Tap Add client
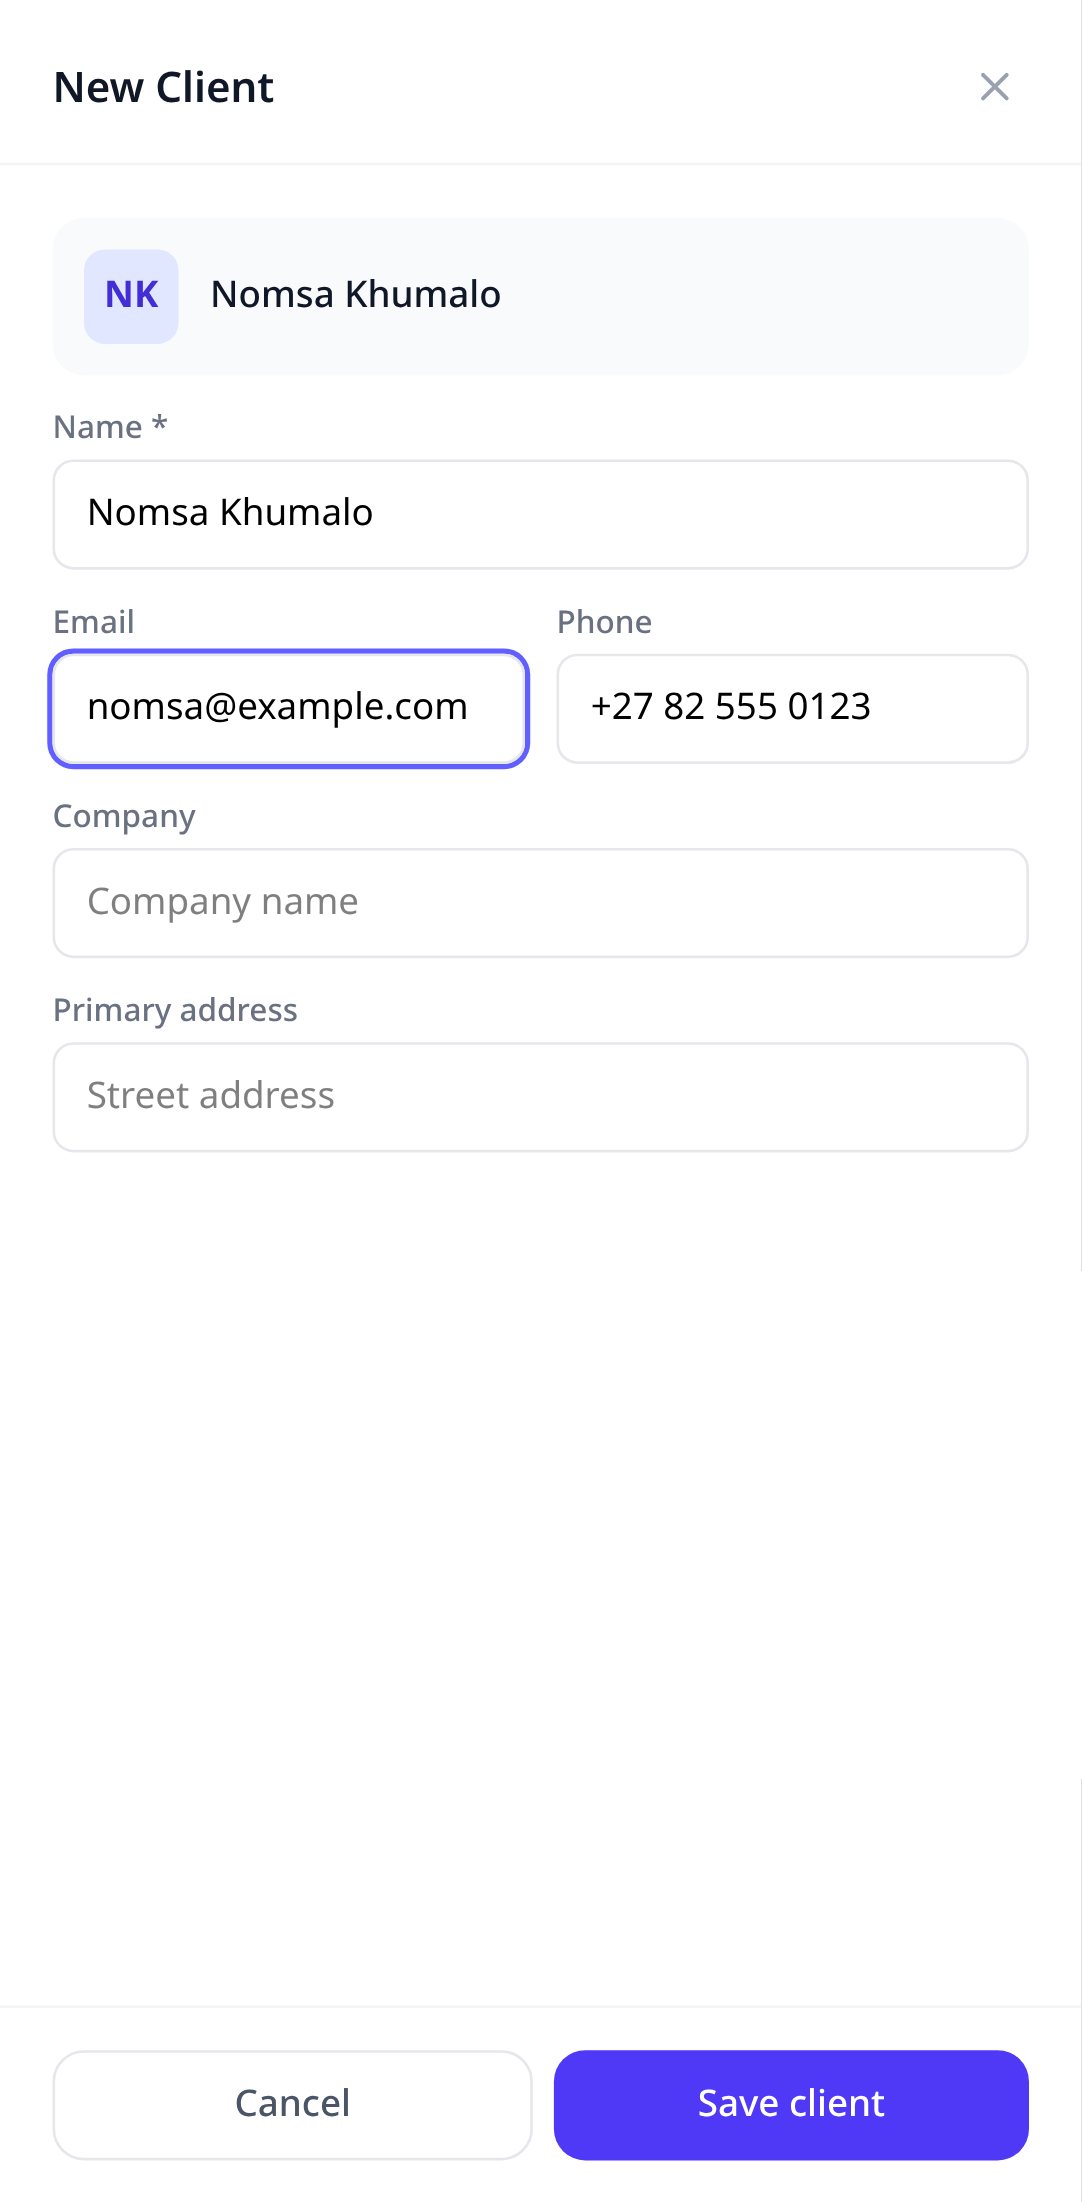
Only the name is required. Add a phone number and email if you have them, because Pinion uses them for the one-tap call and email buttons on the client’s page.
3. Add an address
The Locations section is where the job happens. A client can have more than one, for example a home and a rental property. Mark one as the default and it’s pre-filled on every new job.
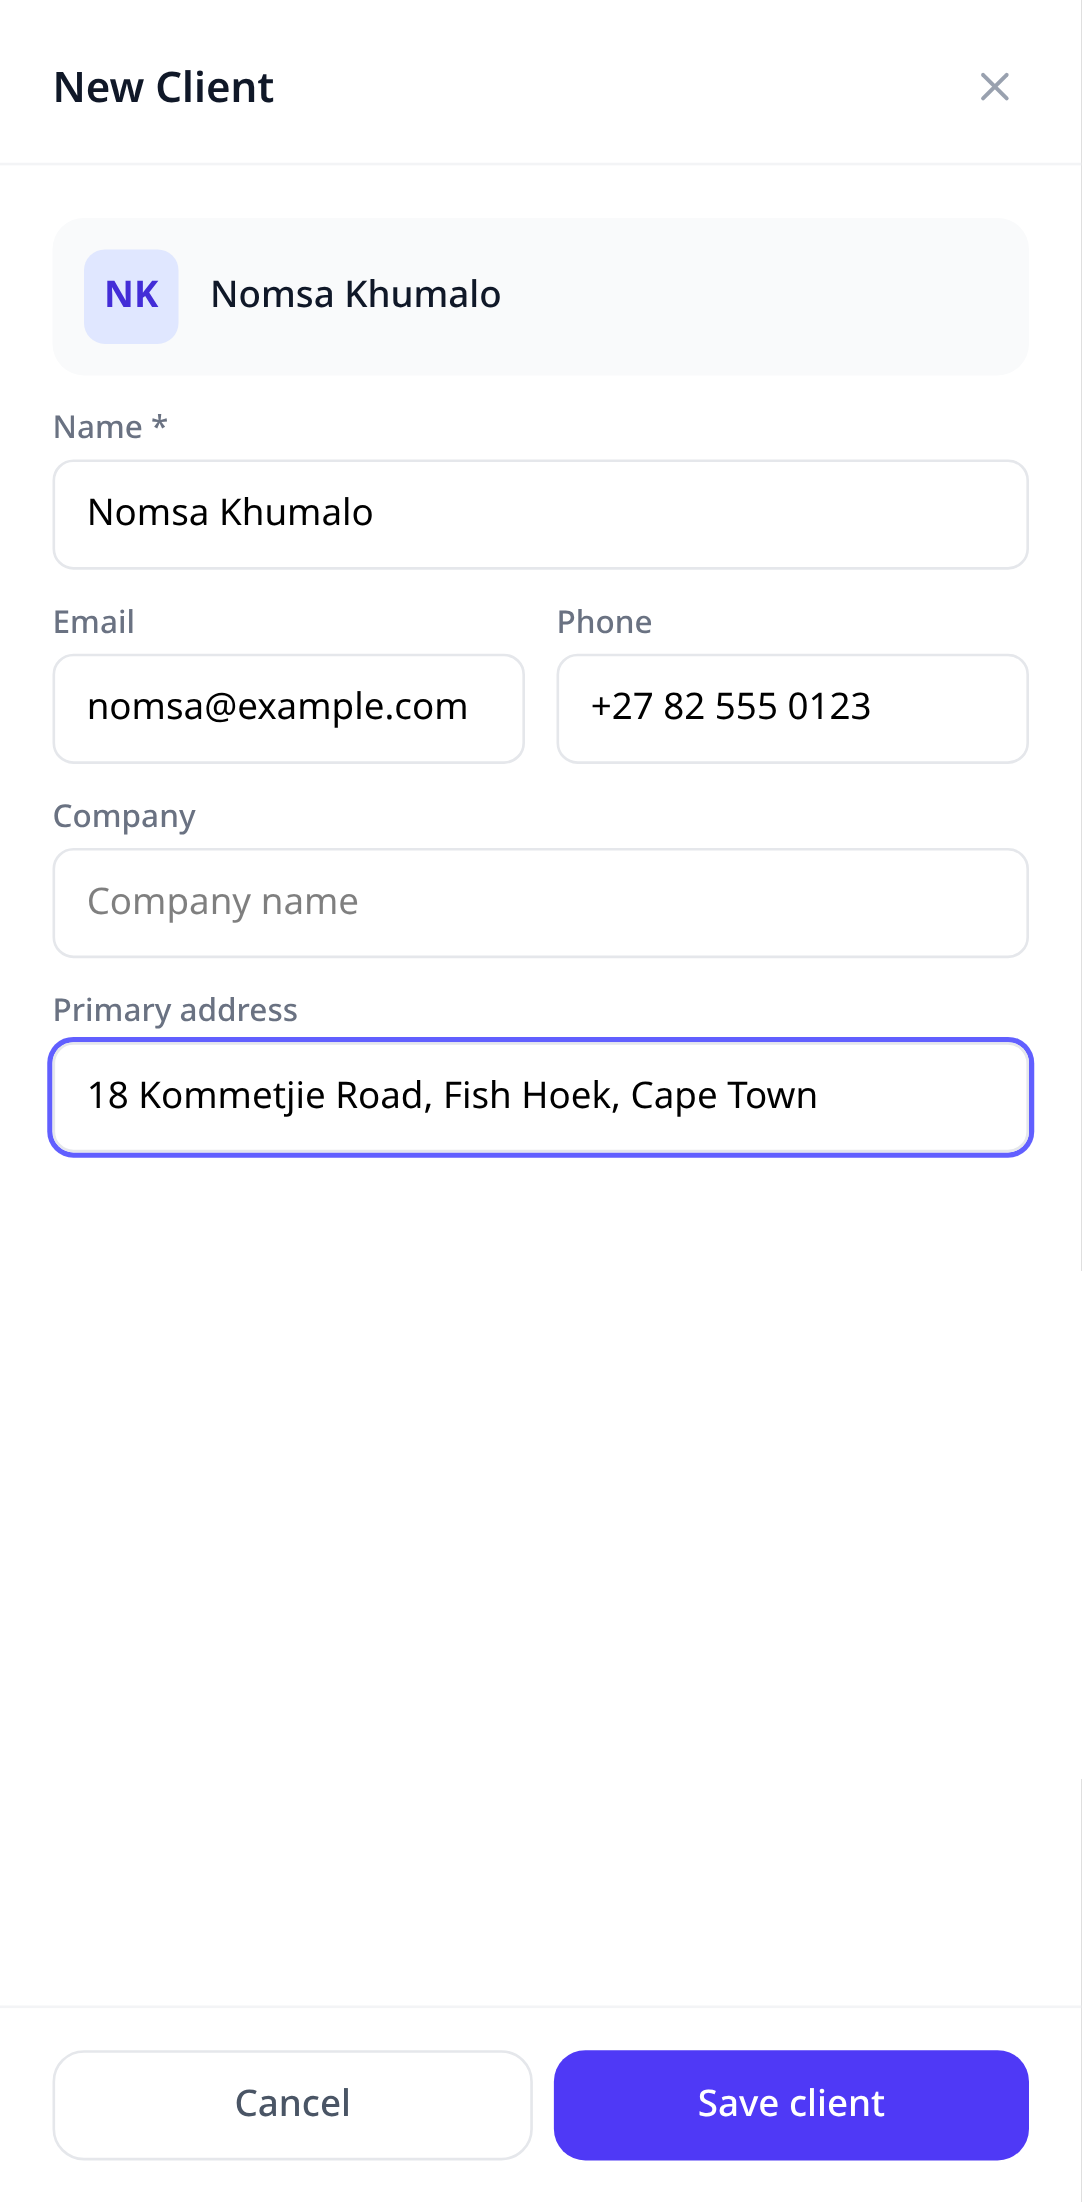
4. Save
Tap Save client. You land back on the list with the new client at the top. Tap the name to open their page.

What’s on a client’s page
- Call, email, and directions buttons that open your phone’s own apps.
- Jobs and Documents tabs that fill up as you work.
- Notes for the things you’d otherwise keep in your head: gate code, dog’s name, which invoice they still owe.
Next
Try it in your own account.
Free to start, no card. Set-up takes minutes, not weeks.